

Git is a distributed version control system used in monitoring file changes in a project workflow. In our day to day activities as a software developer/engineer, the need to use Git is very important in many instances such as making changes on a local repository, tracking changes while working on a project, collaborating with other people on projects remotely or on-site, contributing to an open-source project, etc.
When it comes to hiring, i'll take a Github commit log over a resume any day.
- John Resig
Below is a quick walk-through of the basic git commands:
- git init - This is the first step to take when you are just starting out on a new project in the git environment because this command is responsible for initializing your local git repository
$ git init
- touch - This command is used in adding your files directly to the index page of your current working folder
As seen in the illustration above, a .js file was created using the touch command.$ touch page.js
git add - To save your file after creation(to move to the staging area), it's required to run the git add command. Given the page.js that was created using the touch command, we can add the file by typing git add page.js in the git terminal. If you add another file, change or edit the file multiple times , the git add command must be run after your last change.
$ git add page.js
// If you have multiple files with the same extension that needed to be added, for example , you run this command if you have multiple .js files
$ git add '*.js'
git status - Are wondering how to know your progress in this local git repository?, git status is the command that shows how the file(s) behaviour, i.e whether it's been edited, committed , pushed, checked out, etc
$ git status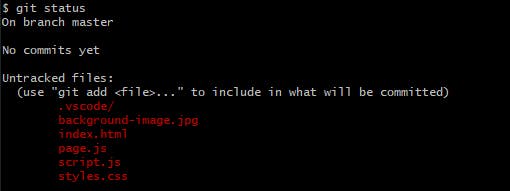 In the illustration above are the files present in my working folder but there is something important thing to take note here, once you edit or make changes to your file(s) without performing the git add command, the file(s) will be red in color just as shown above.
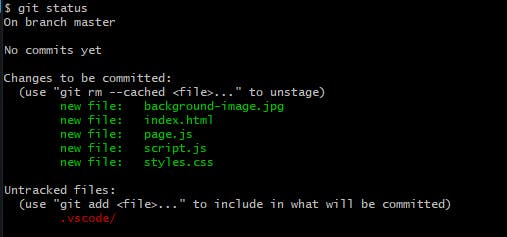
After running the git add command on all the files present in the folder, the color changes to green
In the illustration above are the files present in my working folder but there is something important thing to take note here, once you edit or make changes to your file(s) without performing the git add command, the file(s) will be red in color just as shown above.
After running the git add command on all the files present in the folder, the color changes to green
Voila!, we are ready to make a commit.
Okay, so what does a git commit command do?
- git commit - This command gives an overview of the 'staged' changes in your current project. Git commit makes changes to the file(s) and takes it from the staging area to the local repository. A popular saying goes thus, "there are several ways to kill a cat". Such saying is very familiar with the git terminal when performing a git commit . These are the two ways to run the git commit command
i. Using the vim interface - After running a git commit command in your terminal, you are automatically redirected to a VIM editor but this looks strange to a newbie who is not familiar with the environment. You can make your commit here by editing the text inside the VIM editor but to make things easier, let's leave the environment and make our changes on the git terminal. So, to leave VIM environment, press ESC key on your keyboard , this makes the interface editable as you notice a colon : at the bottom , type :wq , press the enter key and yeah, you are now back to the git terminal.
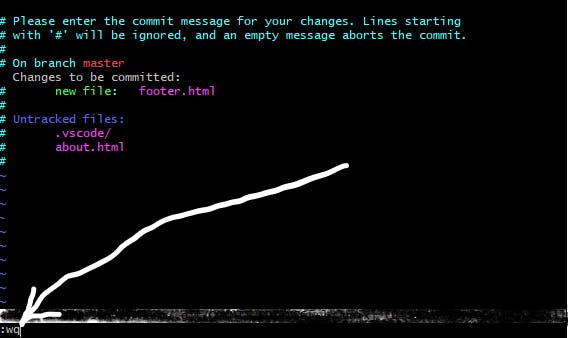 Vim Interface
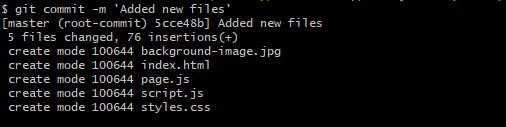
II. The second step to commit your code is git commit -m '<your commit statement here'. This is unarguably simpler than the first step and you can always write whatever suits your action inside the quoted (" ") region. Ensure the quoted are added, hence, it will throw an error
$ git commit -m 'Added new files'
- git remote add - This command is use to sync your changes on the local repository to the remote repository. To do this, create a repository with your preferred name.. For example, i have created a new repo called myWebApp and i get the following commands

Copy the command within the oval-shaped and paste in your terminal
In case you didn't want to copy and paste for better understanding, this is the structure of a git remote add command
$ git remote add origin https://github.com/<your-github-name-here>/<your-repoName>.git
- git push - To push your file from local repository to remote repository, this command is required. The format for a git push command is in this format - git push -u 'name_of_remote_repo' 'branch_name'
$ git push -u origin master