Introduction
This article is focused on building a Contact Form in React using a third party service Emailjs and Material UI for styling the form
Prerequisuites
- A basic understanding of Reactjs
- NODE/NPM must be installed on your local machine
- A visual studio code(vs code) editor

Emailjs Setup
You need to create a free account on emailjs in order to access the credentials needed for building the form. These credentials are SERVICE_ID, PUBLIC_KEY & TEMPLATE_ID
After signing up successfully, click on the email service tab and add a gmail email service
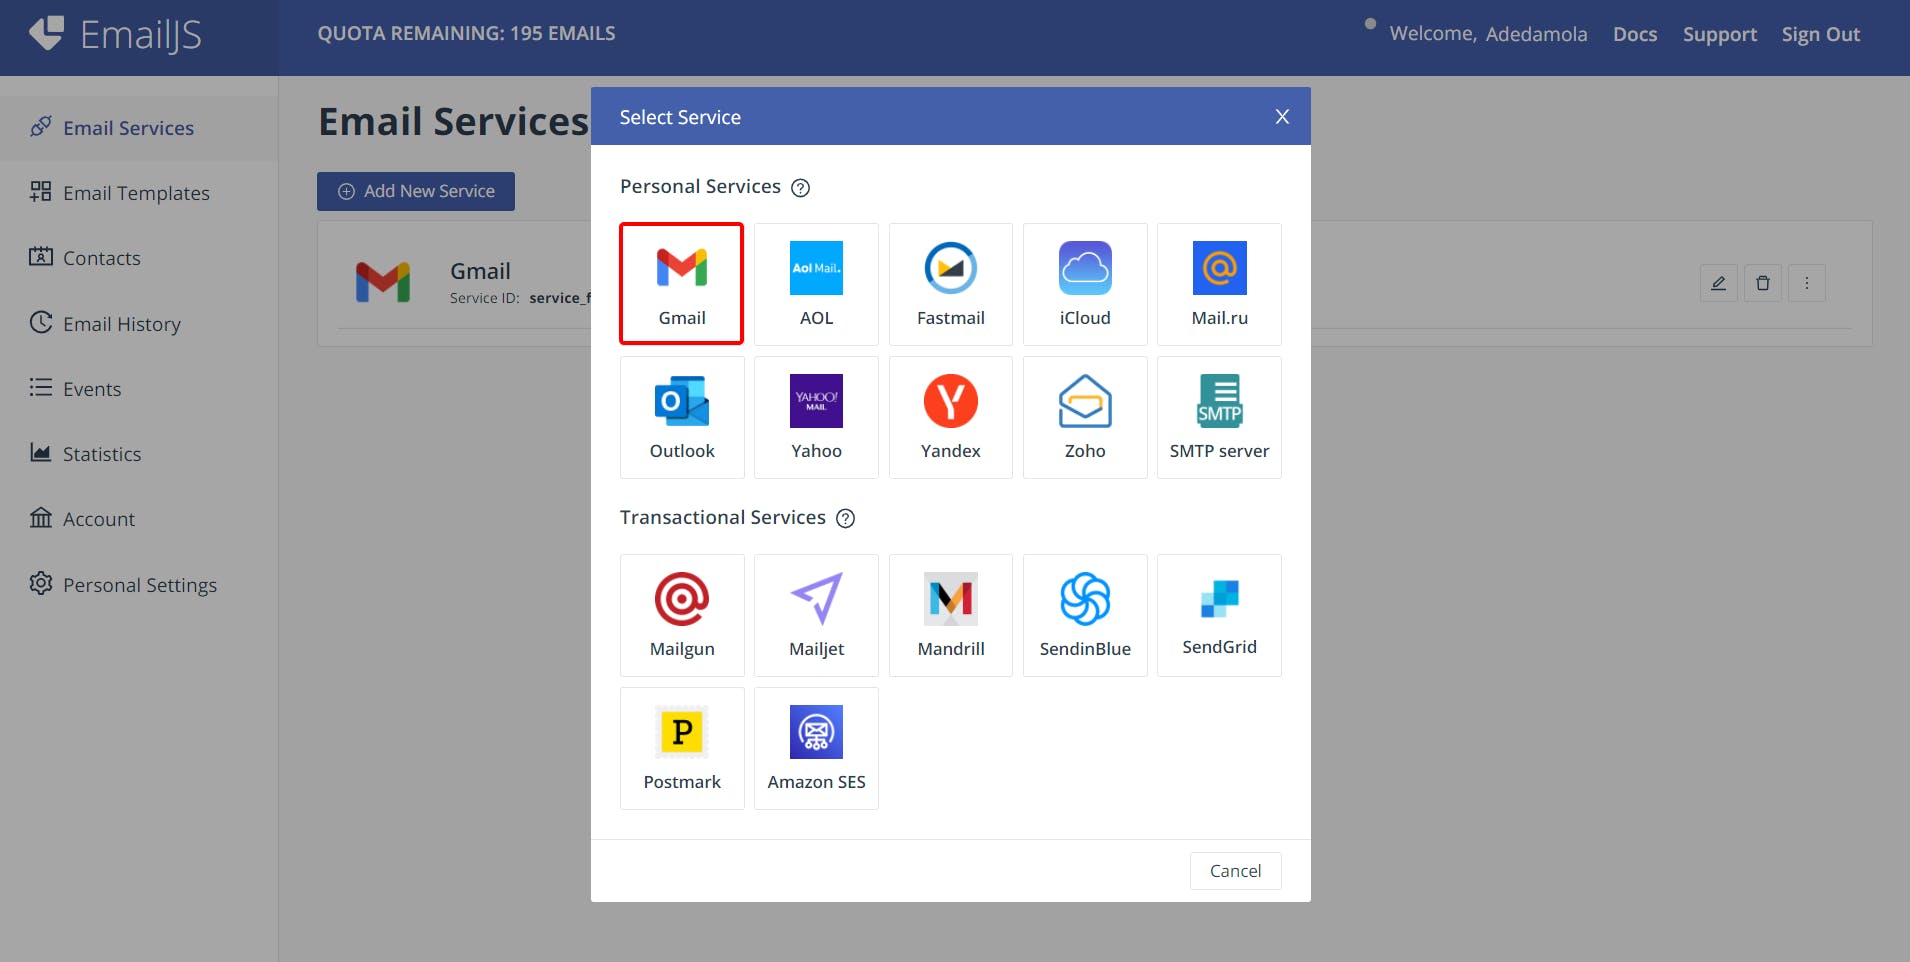
To get your SERVICE_ID and copy the values prefixed with service_ in the image below👇

To get your PUBLIC_KEY, go the account tab and copy the values inside the public key field

To get your TEMPLATE_ID , click on the email templates tab and copy the values prefixed with template_ in the image below👇
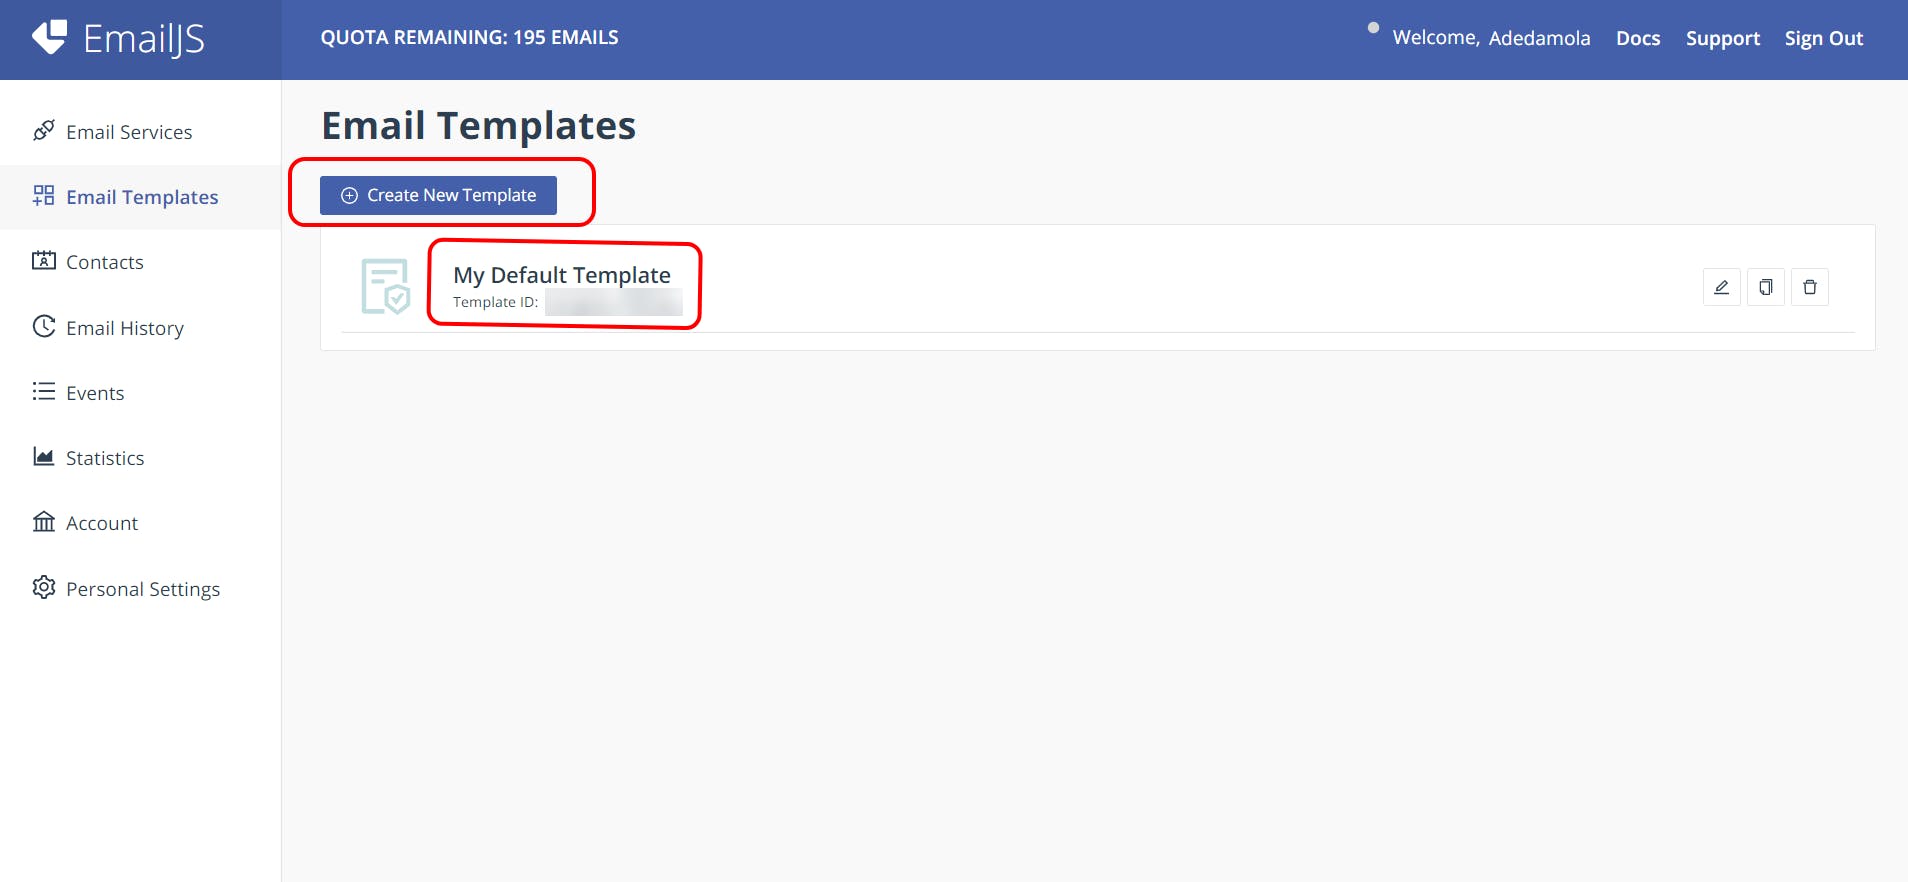
Click on the Create new template button to set up the format for the email
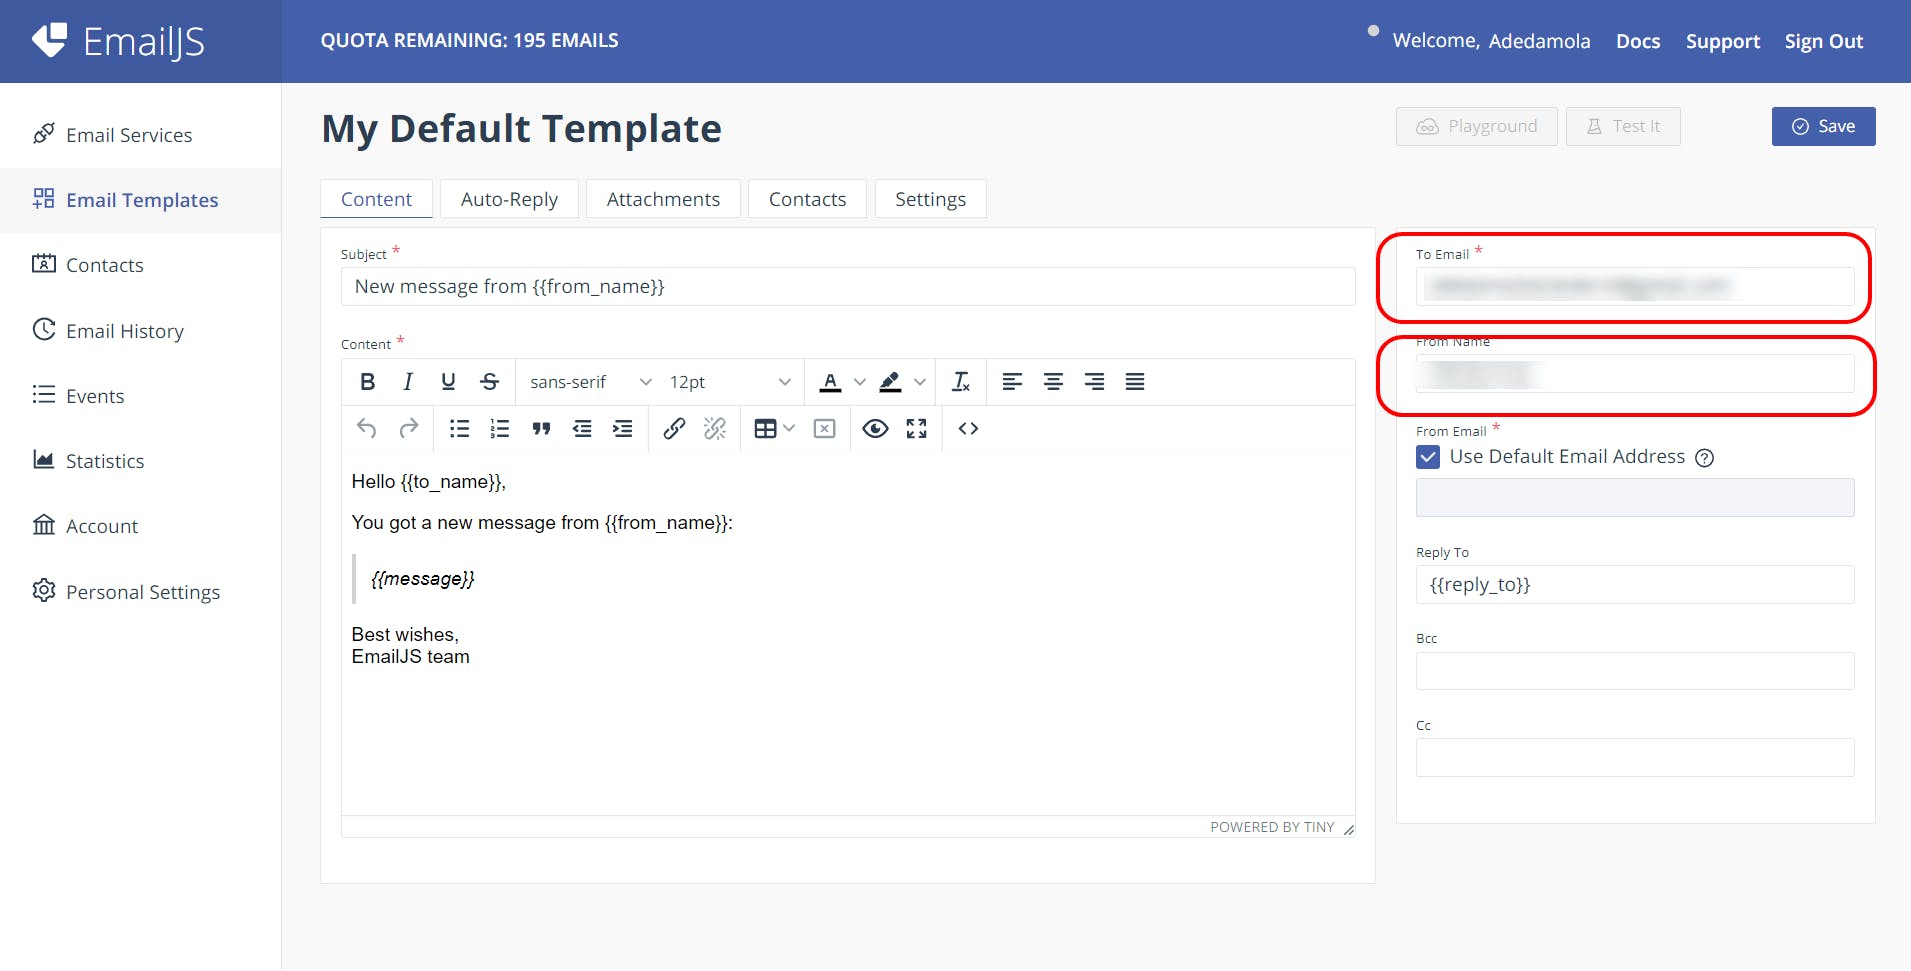
Tweak the values in the subject and comment fields to your interests
ℹ️ Note the variables in the double curly braces as these variables are to match your variables used in your code. The email address in the to_email field holds the contents submitted when anybody submits a message on the contact form. The from_name field is optional.
Project Setup
Initialize a new React project, create a directory in your vs code terminal and install the following dependencies using the set of commands below
npx create-react-app react-emailjs-form
cd react-emailjs-form
npm i @emailjs/browser @material-ui/core sweetalert2
After running the set of commands above, you should have all the necessary dependencies installed to successfully run your project
Next, let's create the UI of the contact form
Index.js
import React from 'react';
import ReactDOM from 'react-dom';
import './index.css';
import App from './App';

ReactDOM.render(
  <React.StrictMode>
    <App />
  </React.StrictMode>,
  document.getElementById('root')
);
App.js
import React from 'react';
import { Box, makeStyles, TextField , Button, TextareaAutosize } from '@material-ui/core'
import emailjs from '@emailjs/browser'
import Swal from 'sweetalert2'

// css

const useStyles = makeStyles(() => ({
    loginscreen:{
        display:"flex",
        justifyContent:"center",
        alignItems:'center',
        maxHeight:"30vh",
        textAlign:"center",
        margin:"160px",

    },
    text:{
        width:"400px",
        height:"5rem",
        lineHeight: "1.6em"
    },
    btnLogin:{
        lineHeight: "2.55rem",
        letterSpacing:"1em",
        textAlign:"center",
        fontWeight:"bold",
        textDecoration:"none",
        color:"#fff",
        backgroundColor: "#291e38",
        marginTop:"15px"
    },
    btnText:{
        color:"#fff",
    }
}))

function App(){
  const classes = useStyles();
  const onHandleSubmit= (e) => {};

  return (
    <>
      <Box className = {classes.loginscreen}>
        <form  onSubmit={onHandleSubmit}>
            <div>
                 <h2>Contact Form</h2>
                <TextField fullWidth className={classes.text}
                  type="text"
                  label="Name"
                  required
                  name="user_name"
                />
            </div>

            <div>
                <TextField className={classes.text}
                    type="email"
                    label="Email"
                    name="user_email"
                    required
                />
            </div>

            <div >
                <TextareaAutosize className={classes.text}
                    type="text"
                     label="Message"
                    required
                    name="user_message"
                    variant="outlined"
                    placeholder='Message here...'
                    style={{ width: 400 , height:100, borderColor:"#909090", borderWidth:1.3,
                    marginBottom:"10px"}}
                />
            </div>

            <div className={classes.btnLogin}>
                <Button type='submit' className={classes.btnText}>SUBMIT MESSAGE</Button>
            </div>
        </form>
    </Box>
    </>
  )
}

export default App;
Important: The name of the attributes of the input elements must be equal to the name of the variables with the double curly braces as stated earlier.
You should also notice the makestyles() function in the code snippet above, it is a material ui function used in extending the material ui functionalities and writing more css using js objects. Read more about it here .
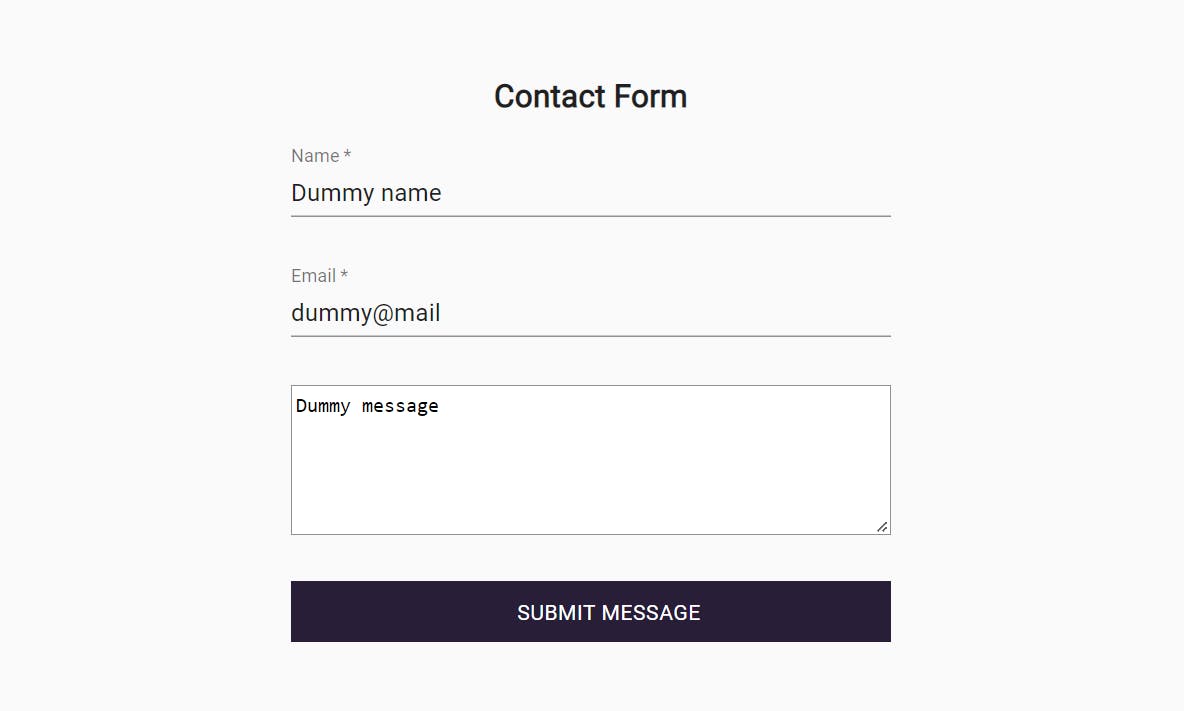
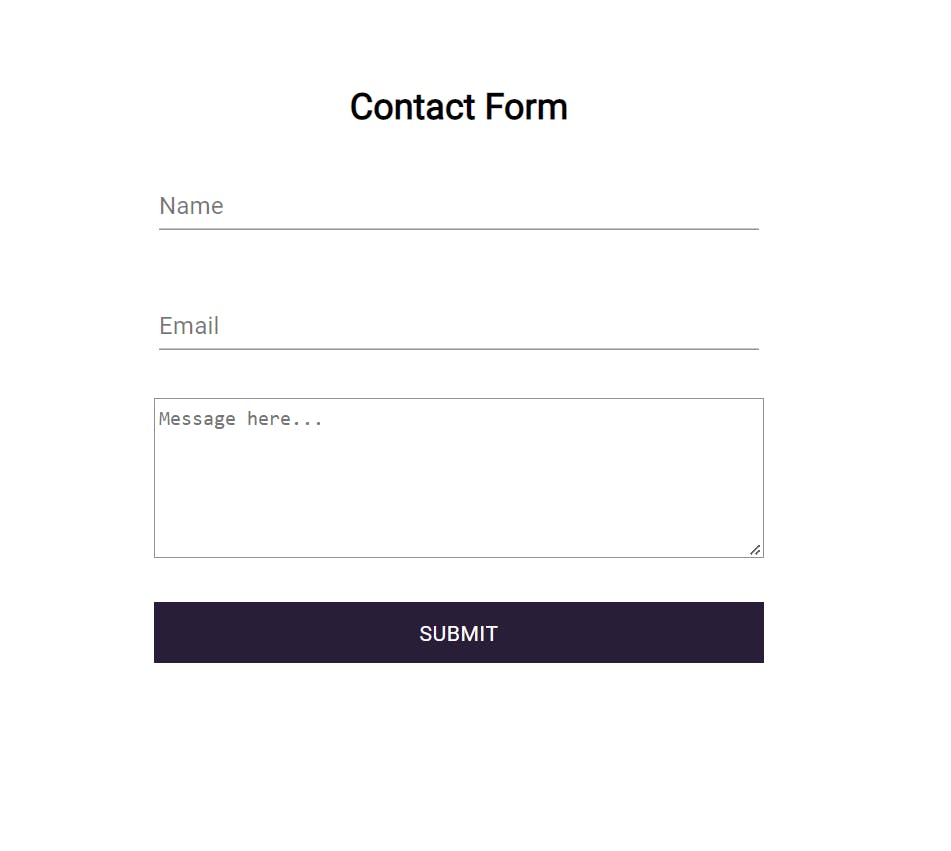 You should have this after following the steps above
Now, let's write the logic of the Contact Form by populating the onHandleSubmit() method
const onHandleSubmit= (e) => {
    e.preventDefault();

    emailjs.sendForm('SERVICE_ID', 'TEMPLATE_ID', e.target, 'PUBLIC_KEY')
      .then((result) => {
        console.log(result.text);
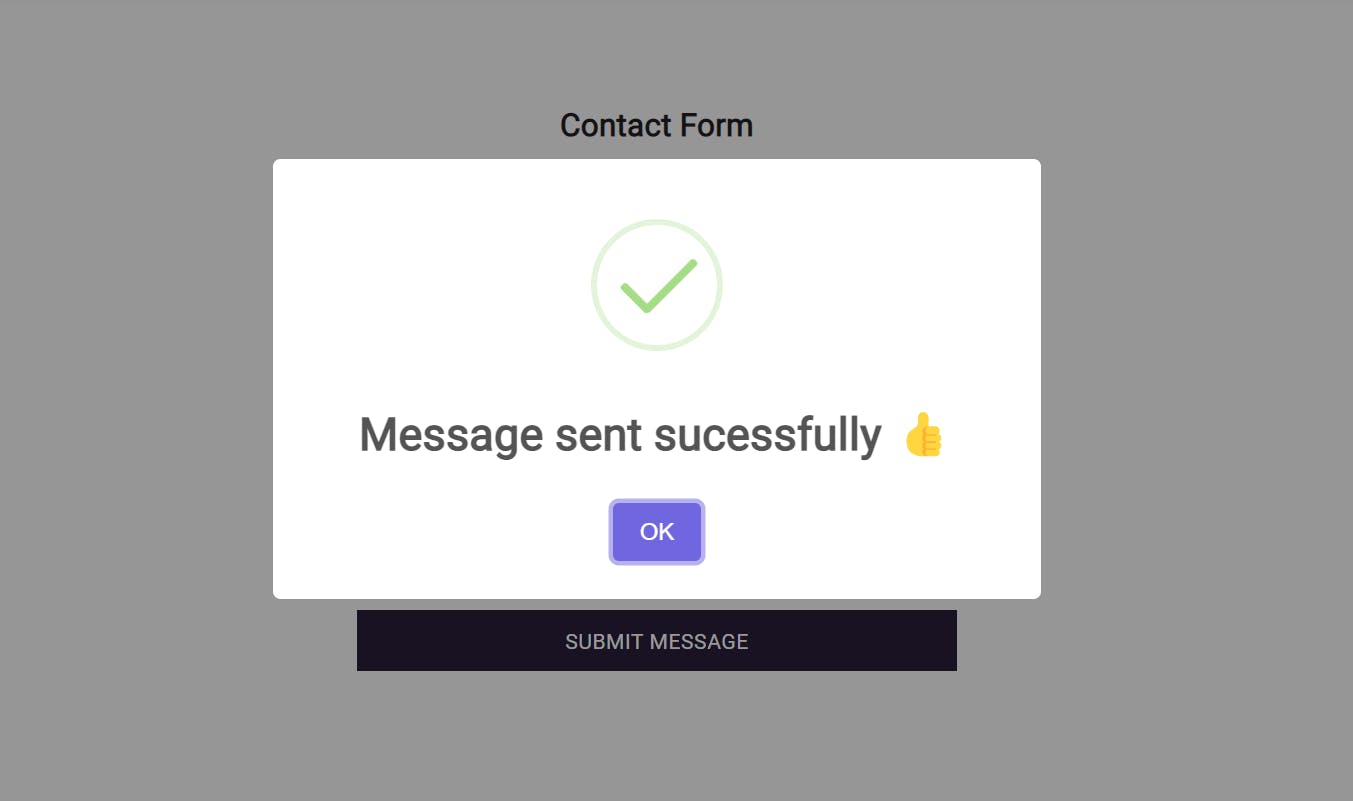
        Swal.fire({
          icon:'success',
          title:'Message sent sucessfully 👍'
        })
      }, (error) => {
        console.log(error.text);
        Swal.fire({
          icon:'error',
          title:"Something went wrong 🙃",
          text:error.text,
        })
      });
      e.target.reset();
  };
Given the logic in the above snippet, replace the string values of the SERVICE_ID, TEMPLATE_ID & PUBLIC KEY with the values retrieved from the emailjs dashboard as stated earlier.
Test
Response
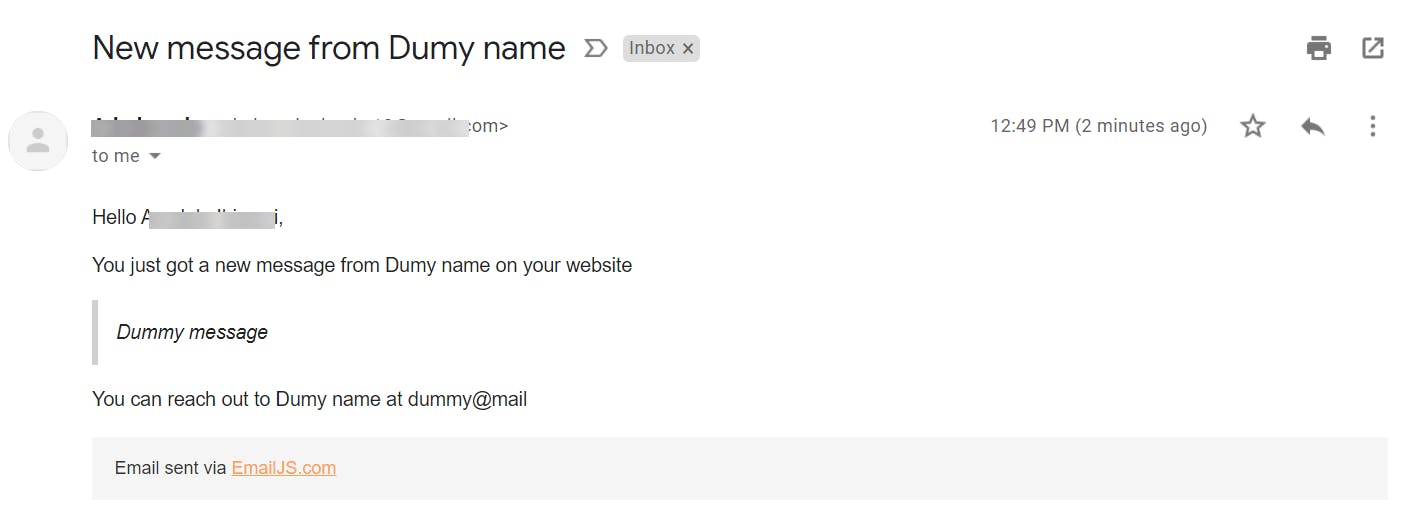 You can check your mail now, you should see a similar response as well
Conclusion
Voila😍, you have successfully created a fully functional contact form in React using emailjs.
Kindly leave a reaction or comment. I would love to improve the quality of my next article all thanks to your reviews.